The data files for this tutorial are found in your ...FlamMap6\Tutorial\ folder (directory). The ...FlamMap6\ folder is where you chose to place the FlamMap programs during installation. The default folder for installing FlamMap is C:\Workspace\FlamMap6\.
NOTE: These tutorial screen images were made using the default FlamMap legends. If the default legends have been changed your display screen may look different.
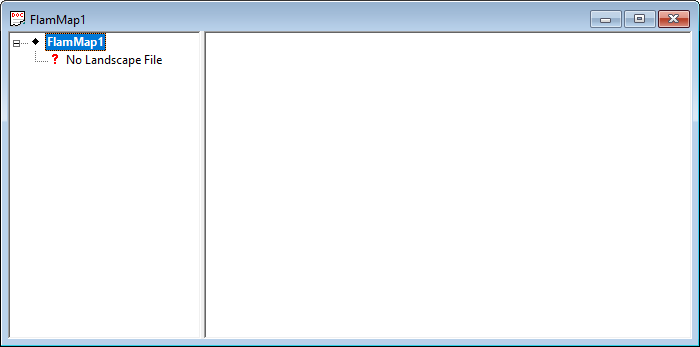
When you first start FlamMap it opens a default project window named "FlamMap1".
The right ("Display") pane is empty since no Landscape is loaded and the left ("Tree") pane contains only two lines, the project and landscape items.
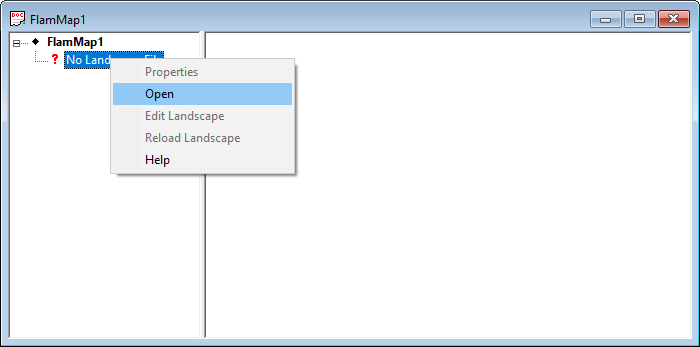
The first step is to load a Landscape into the default project; right-clicking on the ? No Landscape File item brings up a shortcut menu with just the Open and Help commands available.
Select the Open command from the shortcut menu to open a standard Window's "Open" dialog box. Navigate to the ...\FlamMap6\Tutorial\ folder and select happyTutorial.tif as your Landscape and click the Open button. Your "FlamMap1" project window will look like this.

NOTE: Opening window and pane sizes will vary on each computer. You can change window sizes by dragging the Window Borders. You may also want to drag the divider between the "Tree" and "Display" panes right to see the entire "Tree" pane.
Auxiliary themes are not required to generate FlamMap output, but they are handy for orienting and viewing results.
For this lesson you will load a vector shapefile showing roads. First, expand the ♦Auxiliary Themes item by clicking it's ![]() box. Then right click the ♦Vector Themes tree item to bring up the following short cut menu.
box. Then right click the ♦Vector Themes tree item to bring up the following short cut menu.

Select the New Vector Theme command from the shortcut menu to display a standard Window's "Open" dialog box. Navigate to the ...\FlamMap6\Tutorial\ folder and select the Roads.shp file and click the Open button. Your "FlamMap1" project window displays the roads on your fuel model layer in the "Display" pane as a blue line. Now expand the ♦Vector Themes tree item by clicking it's ![]() box to show the
box to show the ![]() ♦ Roads item in the tree.
♦ Roads item in the tree.

Now load a grid (or raster) theme of the vegetative cover type. Right click the Grid Themes tree item to bring up the following short cut menu.

Select the New Grid Theme command from the shortcut menu to display the "Open" dialog. Navigate to the ...\FlamMap6\Tutorial\ folder and select the LandfireEVT.tif file and click the Open button. You may need to change the file type filter to GeoTiff Files (*.tif) or All Files(*.*) to see this file in the "Open" dialog. Expand the ♦Grid Themes tree item by clicking it's ![]() box and select the
box and select the ![]() ♦ LandfireEVT item under to display this new grid theme.
♦ LandfireEVT item under to display this new grid theme.
NOTE: There is no default legend for grid themes, so every Auxiliary Grid Theme will have a random color legend until changed by the user.

At this point in the tutorial or at any place in the tutorial you can save your FlamMap project so you can close FlamMap and return without losing any of your work. To save, right-click on the ♦ FlamMap1 line in the tree pane (it's the top line) and select Save from the shortcut menu. A "Save As" dialog box opens with the ...\FlamMap6\Tutorial\ folder selected. Name your project "FirstTutorial.fmp" and click the OK button.
The next lesson will teach you to view and change the legends of the grid and vector themes.