This is the part you all have been waiting for, getting some output to look at.
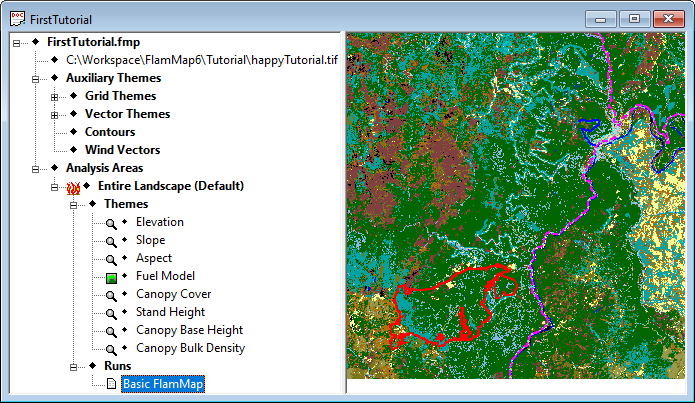
If you have closed your project or shut down FlamMap, you can reopen the project by selecting the File > Open command from the menu bar. In the "Open" dialog box select the file "First Tutorial.fmp" and click the Open button. Your FlamMap project will display just the way it was when you last saved it as shown below.
Double-click on the ![]() Basic FlamMap item in the "Tree" pane, the last item in the tree, to open the "Run:Basic FlamMap" dialog. Select the Fire Behavior Options tab
Basic FlamMap item in the "Tree" pane, the last item in the tree, to open the "Run:Basic FlamMap" dialog. Select the Fire Behavior Options tab
The Status bar and Buttons at the bottom of the "Run:First Tutorial" dialog should look like this;

The Launch button is available indicating you have made no changes to the Inputs or Fire Behavior Options tabs.
The status bar indicates you have proper inputs for a run, three output maps have been requested, and there are no previous outputs from any Basic FlamMap runs.
Now for the big moment; click the Launch button and the following status dialog appears for several seconds.

When the fire behavior calculations are complete click OK in the "FlamMap Progress" dialog and click OK to close the "Run:Basic FlamMap" dialog.
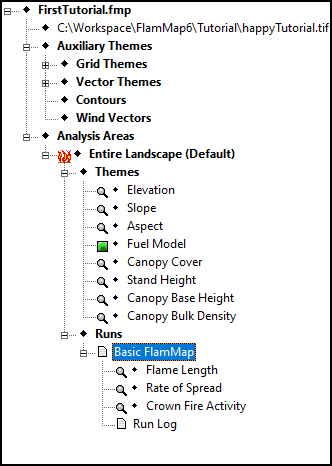
Now expand the ![]() Basic FlamMap line in the "Tree" pane by clicking it's
Basic FlamMap line in the "Tree" pane by clicking it's ![]() icon and your "Tree" pane will now look similar to this;
icon and your "Tree" pane will now look similar to this;
|
|
To view your outputs just select any of the themes under the If a "Legend" window is not open, open one by right-clicking in the "Display" pane and selecting View Legend from the shortcut menu. You can modify the legend with the procedures you learned in the Using Legends lesson.
|
Interpreting the legends for the ♦Flame Length and ♦Rate of Spread grid themes are obvious. But the ♦Crown Fire Activity theme classes are not intuitive, they are;
For any grid cell to have a value of 2 or 3 it must also meet the lower value conditions. For example, a cell with a torching value (2) must also have surface fire activity and a active crown fire cell must also meet the conditions for torching as well as surface fire.
Well, you've got some FlamMap outputs and you can view them in FlamMap, but now what else can I do with them. First off you want to save your FlamMap project once again so you can return to this point in your work.
You can also save your output grids as separate files you can import into a GIS, image editing software, or word processor.
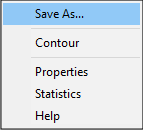
To save the Crown Fire Activity map as a .jpg file you can bring into a word processor right-click the ♦Crown Fire Activity line in the "Tree" pane.
|
|
Select the Save As... command from the shortcut menu to open the "Save As" dialog box. |
By default the "Save As" dialog box opens with the last folder you accessed. If it is not the ...FlamMap6/Tutorial/ folder, navigate to there.
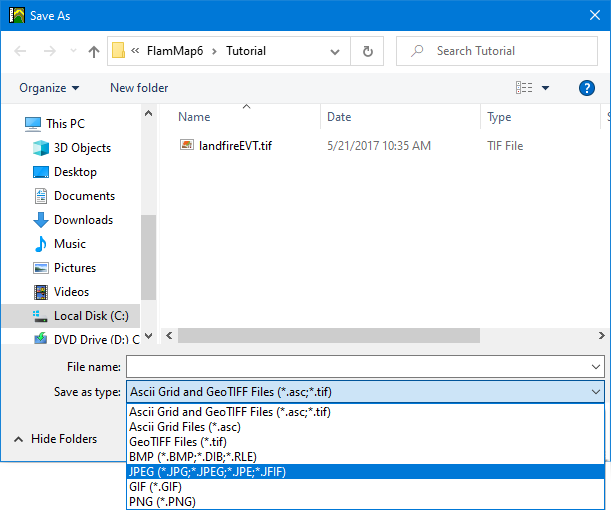
In the Save as type: text box open the drop down menu and select JPEG Files (*.jpg) from the file type list. In the File Name: text box enter "Crown_Fire" as your file name. FlamMap will automatically add the file extension.
Saving your FlamMap output as an image does not allow you to conduct further analysis on the image. For example, you might want to know how many hectares in your analysis area will have a flame length greater than 3 meters. To do this you will need the capabilities of a Geographic Information System that can manipulate grids such as ArcGIS or QGIS.
To save your FlamMap output for use in a GIS follow the steps above to save as an image. The one difference is selecting the file type; from the Save as type: drop-down menu select the GeoTIFF Files (*.tif) file type.
You should save this project by following the procedures from the first lesson. Keep the project name "FirstTutorial.fmp".
You now have completed the tutorials showing the basic steps in conducting a FlamMap run. The next tutorial will get you started using variable dead fuel moisture for your FlamMap runs.